Monday, July 6, 2009
Varnishing
Randy designed and built the seats. The cane and the birdseye maple yolk were purchased, however.
 This is what in the inside of the canoe looked like when the varnishing was completed. Three coats of varnish were put on the inside and outside. Between coats, the surface was wet-sanded using 400 grit sandpaper so that the finish would be perfectly smooth. We used the highest quality high glass marine varnish.
 This is what in the inside of the canoe looked like when the varnishing was completed. Three coats of varnish were put on the inside and outside. Between coats, the surface was wet-sanded using 400 grit sandpaper so that the finish would be perfectly smooth. We used the highest quality high glass marine varnish.
Sanding and Scraping
Re-Attaching the Gunnels
Finishing the Inside
Sunday, April 19, 2009
Inner and Outer Wales On
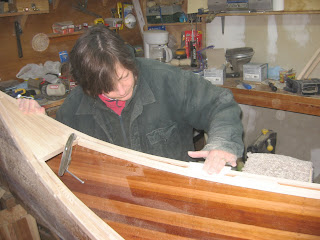
The outer gunnel was attached using 1 1/2" screws that were countersunk. We will make plugs to fill the holes later. The plugged screw holes add to the overall athestic of the canoe. The final sanding on the top side of the gunnel was done by hand, as is all the finishing sanding.
 After using cabinet scrapers to remove any runs in the epoxy in the interior of the canoe, it was sanded smooth. At least one more coat of epoxy will be applied to create a perfectly smooth surface.
The Inner Gunnel
Randy cut 3 inch pieces of ash to be used as spacers between the inner gunnel and the canoe body.
 The spacers were attached to the ash inner gunnel using glue and 5/8" screws. The clamps held the spacers tight to the gunnel while the glue dried.
Here is a completed inner gunnel. We were unable to locate a 16' piece of white ash with which to make the gunnels. Randy spliced 2 12' pieces together using a long taper cup to make each of the inner and out wales.

The inner wale was fitted to the canoe and attached using 3/4" screws. The clamps were used to bend the ash to the shape of the body of the canoe.

Subscribe to:
Comments (Atom)


